

During my trip to Holden Village this July, I got to learn the exciting art of scherenschnitte. This craft is simple enough to do just about anywhere, yet you can really get creative and detailed if you're looking for a challenge!
Materials you will need:
Scherenschnitte pattern (on white paper, preferably)
X-acto knife
Colored paper (thin)
Scrapbook paper
Masking tape
Rotary mat (the kind used in quilting)
Fine detail scissors
Glue stick
and perhaps a few band-aids...
Let's get started...
Once you have decided on a pattern, use the masking tape to affix it to your colored sheet of paper below. This will keep your design from slipping while you cut. For my first piece, I chose a girl riding her bike...perfect for summertime!


This design doesn't have too many small details to work with, but the thin lines right next to one another were a little tricky. Make sure you don't damage your white pattern, because when you are done, you can use that for designs also:
Success!!

Now that you're done, handle your design very carefully. If parts have ripped during the process, don't worry, they can always be glued onto the paper when you are done. Find a background that accents your piece the way you like. Heavy scrapbooking material works very well, and is readily available.
When you've found your background paper, carefully spread glue with the glue-stick on the back of your scherenschnitte piece. Be sure to get all the little pieces if you have fine detail work. Then carefully lay your design on your backing paper, and place another scrap sheet of paper on top of your design. This allows you to put pressure on your work, without the risk of damaging your design. Once you have pushed down on your entire design, lift the paper, and you will have your finished scherenschnitte piece!


Here are some other pictures of scherenschnitte cutting in action!

The colored paper looks great mounted on white...

And the original white pattern is stunning on blue!


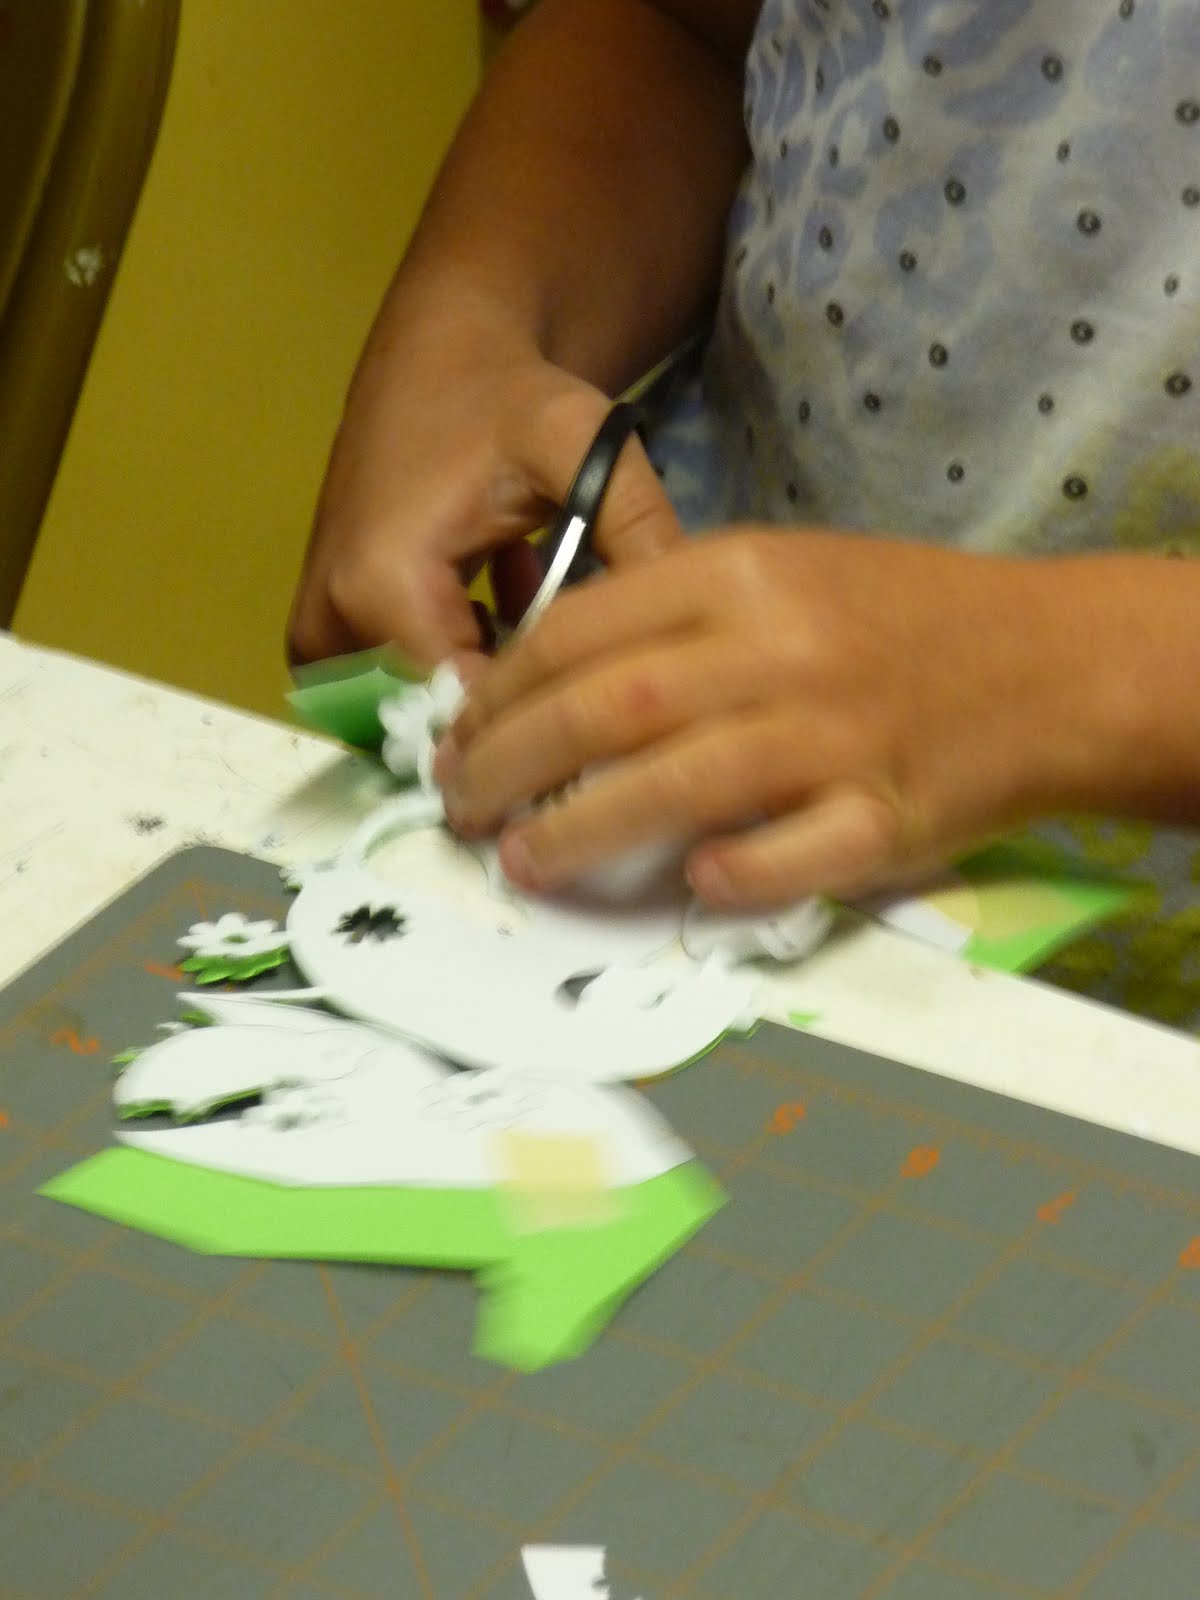
The detail scissors help when cutting out larger areas.
I think this would be a great Christmas tree ornament!

Same design on different papers...


My second design, I loved this piece!

It's not mounted yet in this picture, but I was just trying to see which background I liked better, the black...

Or the white...

In the end, we all had a lovely time learning a new (but very old!) craft! Here are some friends with their finished works of art!

Ready to do your own scherenschnitte? Many patterns can be found online, and this blog has some amazing ones that I want to try out: http://papercutting.blogspot.com/
"The job of the artist is always to deepen the mystery." -Francis Bacon
No comments:
Post a Comment